Neverness to Everness Nameless Hospital Ending 3 - Medical Abomination
So, you’ve completed Nameless Hospital Ending 1 and Nameless Hospital Ending 2. The third run through the Nameless Hospital takes you to the third floor. This time, we are looking for Anomaly Experiment clues. This round, the route to find them might seem a bit crazy, with timed rooms, key puzzles, but it’s not too bad once you learn the route.
Head Straight to the Third Floor
You don’t need anything from the first and second floor, so go straight to the elevator.
Take the elevator to the third floor.
When the elevator doors open, you'll find two locked doors with nowhere obvious to go. Both keys are nearby; you just have to look for them. With this route, the clues you find will not be in order, but you will find them, and quickly.
First, Anomaly Experiment II - The Second Clue
Coming out of the elevator to your left, there’s an oxygen tank or Sealed Container. Open it and get the North District key. It opens the door right next to it. Go inside.
NTE Nameless Hospital Ending 3 Sealed Container after Elevator
NTE Nameless Hospital Ending 3 - Hallway after the anomaly fight
Go enter the door on your right. Then the door on your immediate right. In the room go to the counter and to far right. To the left of the Sealed Container, Investigate to get the Anomaly Experiment Clue II and open the Sealed Container to get the Jigsaw Puzzle.
Second, Anomaly Experiment III – The Third Clue
Go back out and left into the room you came from. Go to the table and place the Jigsaw Puzzle on the table. Get ready to fight the spawns.
After fighting the spawns, go back through the door on the right (not the main hall you started from). You’ll notice, the hallway is different. Be careful, the Bandage Monster will spawn.
You have two choices—two ways to get to the room:
Route 1: Go straight down the hall to the end, where the Bandage Monster spawns and make a right and then enter the door on your immediate right.
Or
Route 2: When you exit the room, go past the room on the right and to the first hallway and make a right. Go all the way to the end and make a left, then another left and go to the end of the hall and go into the last room on the left.
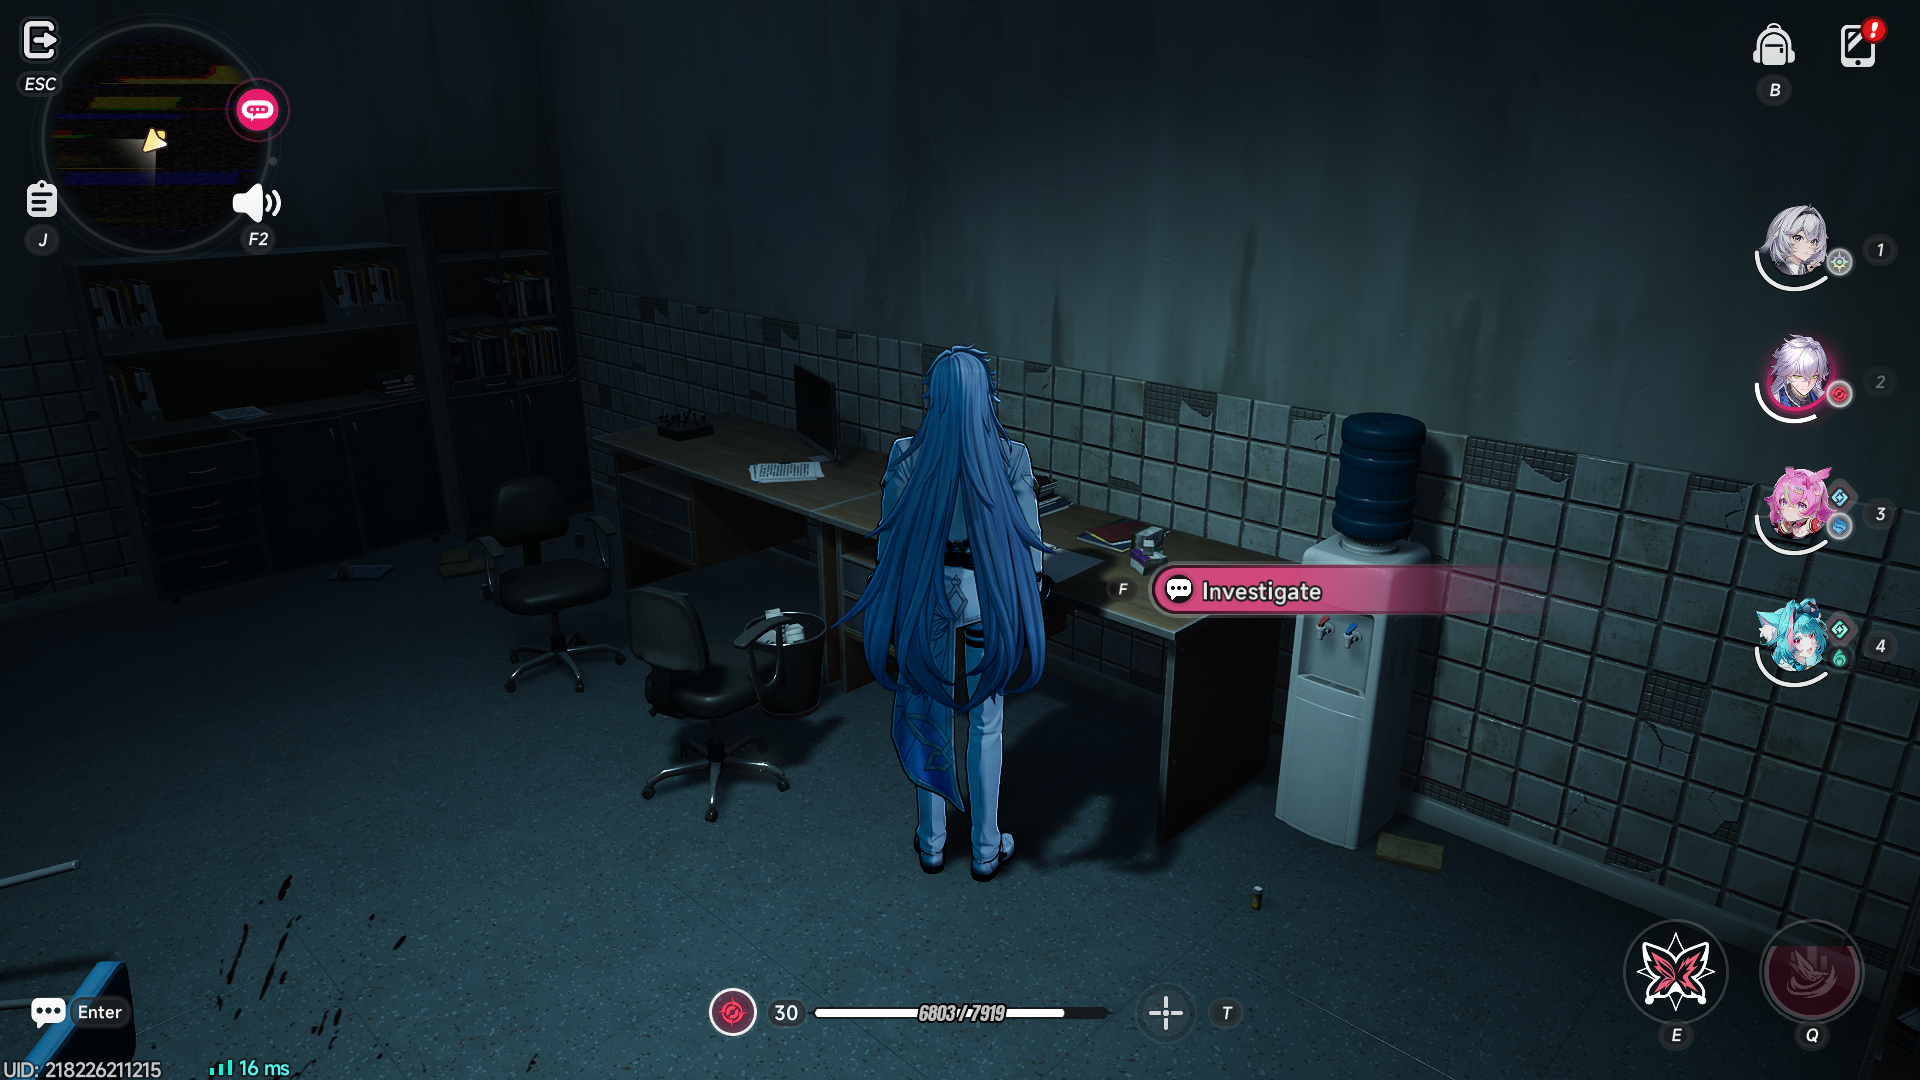
Anomaly Experiment Clue III
On the desk, you will find Anomaly Experiment III.
Anomaly Experiment IV: The Timed Rooms
Now, you’re going to go back around the way you came and back to the room with the table where you placed the Jigsaw Puzzle. You’re going to out the door down the hallway until you see a clock on the left wall.
Investigate the clock and get the Keychain to the Office. The office door is straight ahead. Go inside and go right of the reception desk. You will see a door.
And enter the room. You will have a limited amount of time to get what you need and leave. Opposite the door, you’ll see cabinets. Go to the cabinet on the very far left and open it. Get the keychain and leave.
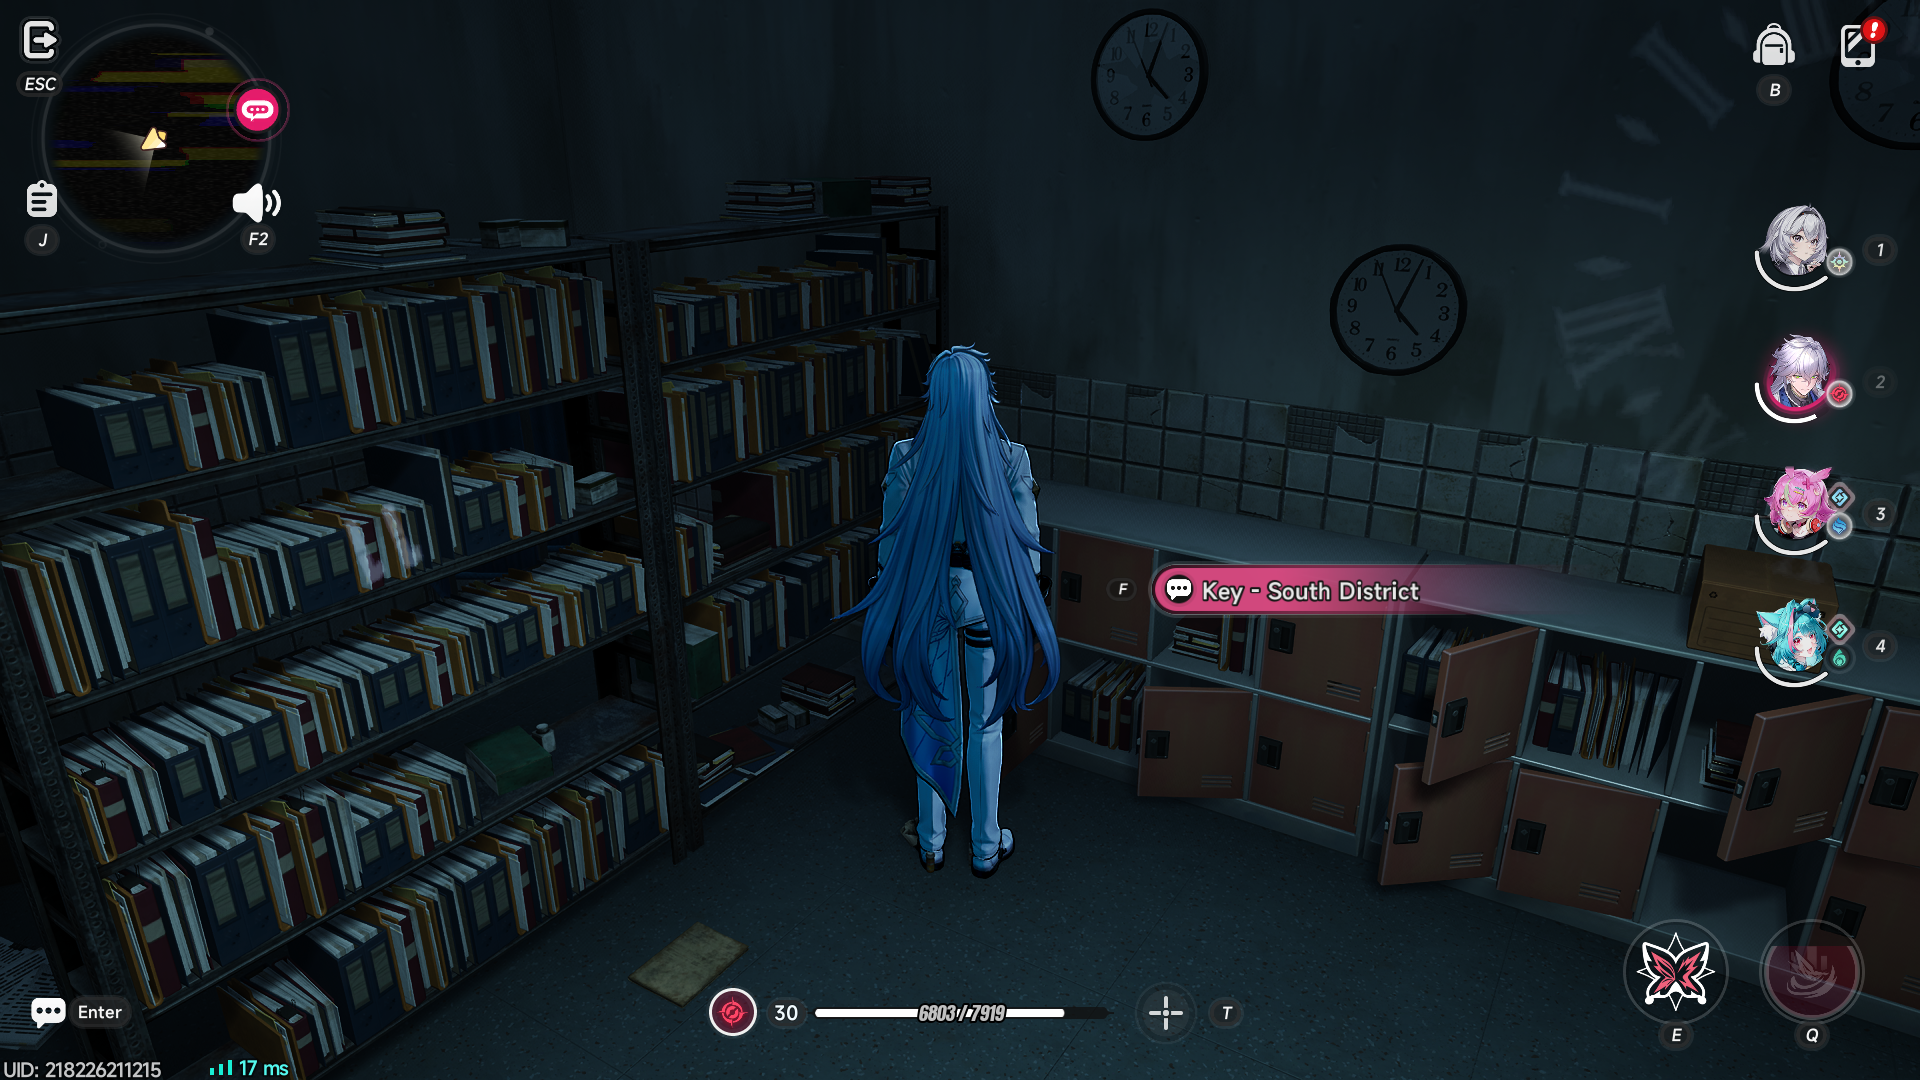
Go straight across the hallway, passed the reception through the door. Turn right and go into the first door on the right. Again, you will have a limited amount of time to get what you need and leave.
Go into the room and go left. There are a pair of desks. The Anomaly Experiment IV Clue is on the desk on the left.
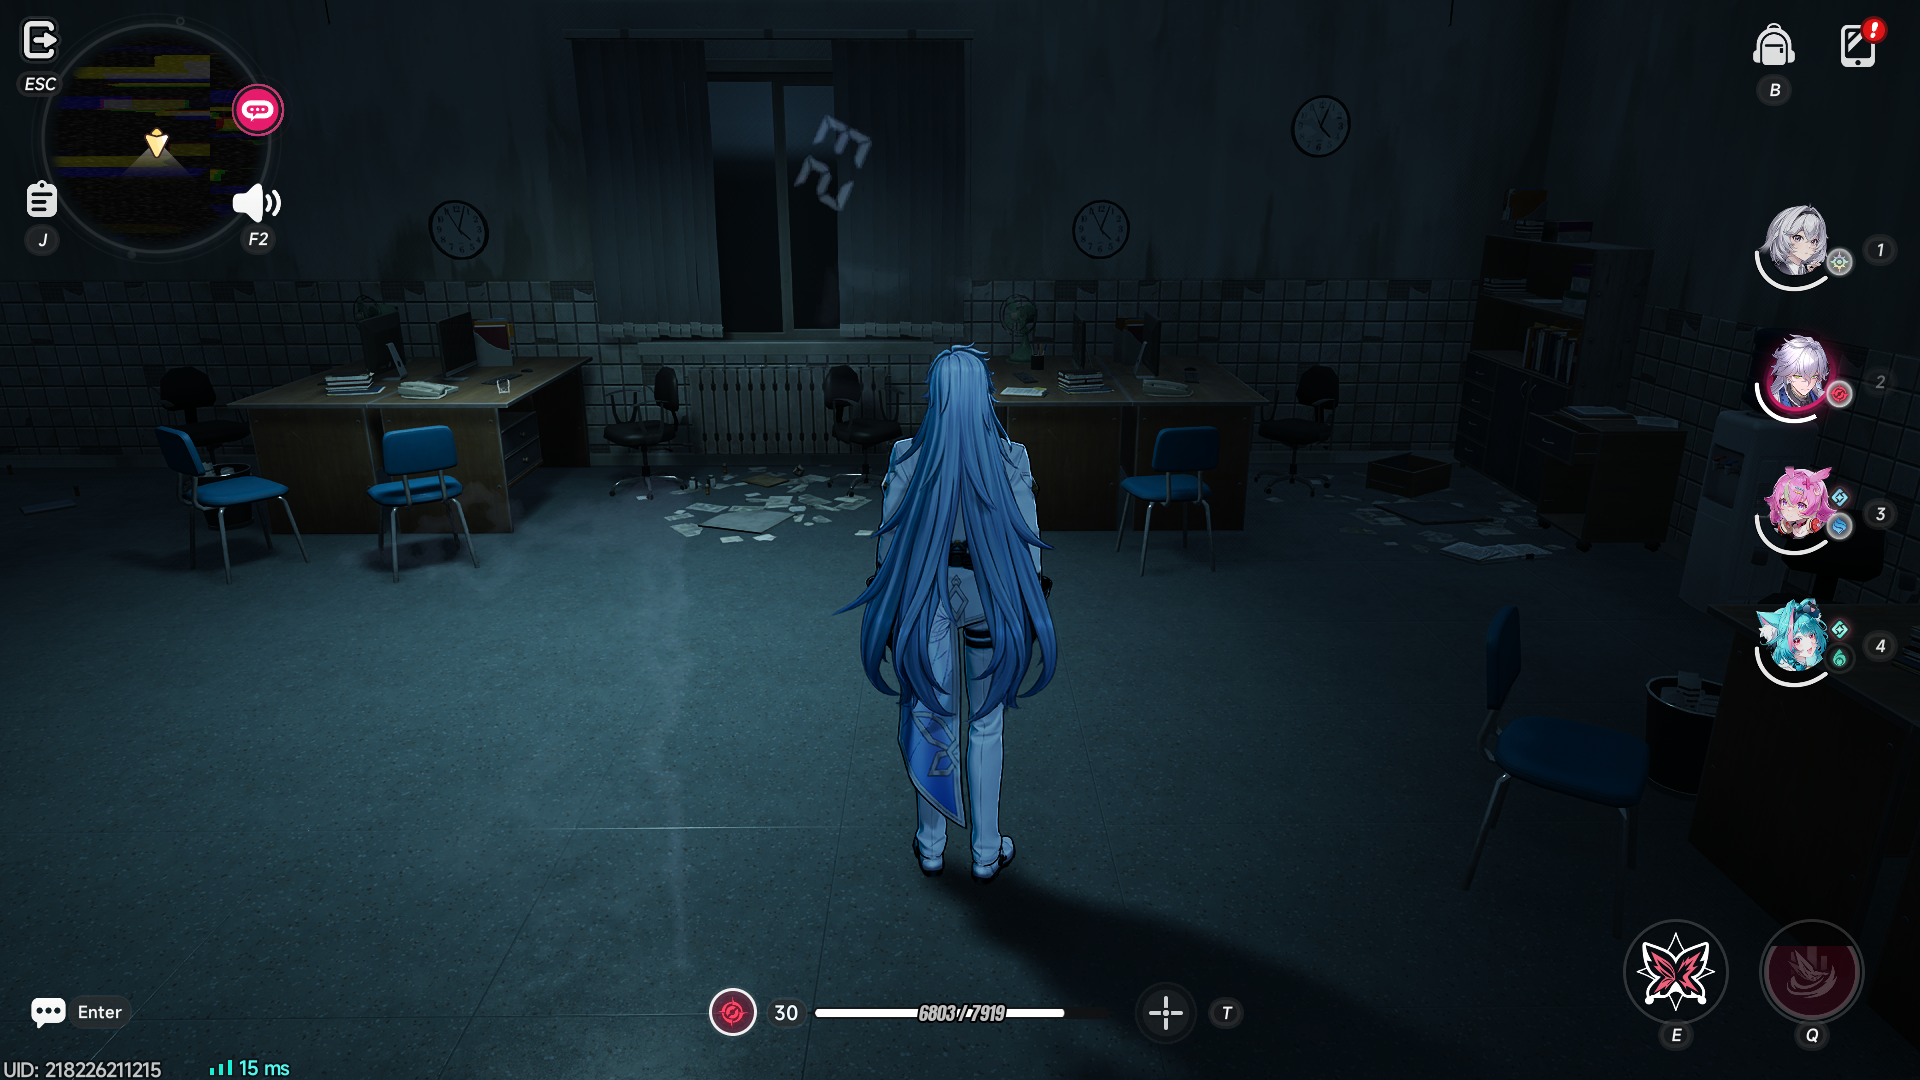
Turn In the Anomaly Experiment Clues
Go back out the door you came from and turn left and immediately left through the door. Turn right at the reception desk, go down the hall and make a left before you get to the double doors. Take the elevator down to 2F.
Exit left and then right, and go into the room behind the reception desk. Turn in your Anomaly Experiment Clues.
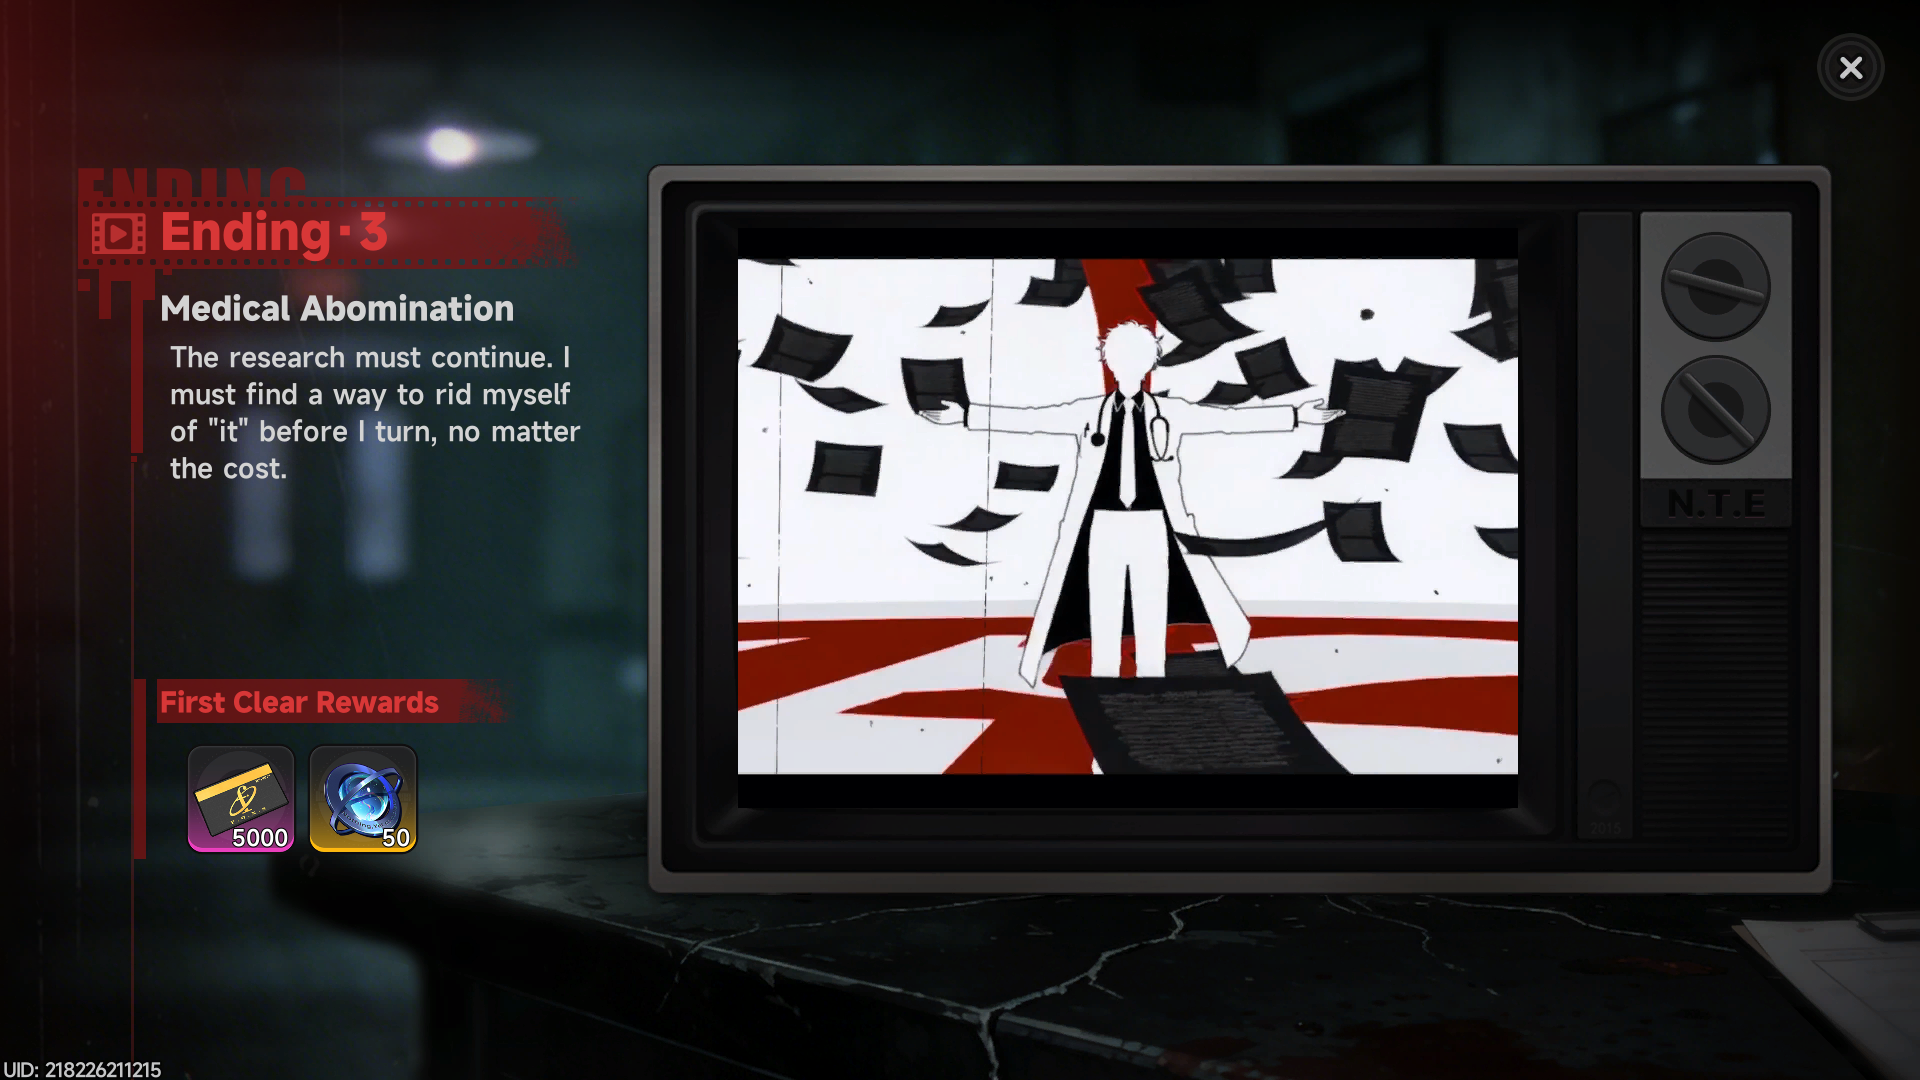
Congratulations! You’ve unlocked Ending 3.
Need help or have questions about the Nameless Hospital? Ask in the comments or on my Ko-Fi.