Neverness to Everness Nameless Hospital Ending 4: The Truth Behind the Nightmare
If you’re here, that means you’ve likely completed:
If so, then you're ready to tackle Ending 4. The three previous endings were fairly easy. But this one? Ending 4 is the most complex and time-consuming run in the Nameless Hospital.
The most time-consuming part will be the jump puzzle, for which you will need either Aurelia (I used her) for her double jump, Nanally, who is most recommended for her zero-gravity movement, or Edgar, who can be used in combination with Zero's Skill.
Start on the Second Floor
As always, you begin on the first floor. You don't need anything from the first floor. Take the elevator to the second floor. Go right and into the main lobby and across the room. To the left there's a hallway to go down. First, anomaly monsters will spawn; beat them up. Then go down that hallway. Remember, the Bandage Monster spawns there. Go all the way to the end, make a left, and enter the first room on the right just beyond the restroom.
Inside, there's a bulletin board on the right side of the wall. Whether it's visible depends on which floor variation you get this run:
Flood variation: The board is immediately visible.
Light-reactive variation: Interact with the switch next to the door to turn off the light. This reveals the board.
Approach the board and interact with it to get the Keychain: 2F.
The Jump Puzzle
Exit the room and go left the way you came, then right and immediately right again. Go into the second door on your right. There's a hole in the right wall leading to another room.
Inside, you'll find a giant hole in the wall leading to the previously blocked room. Above that room is a hole in the ceiling leading to a room you need to reach. This is honestly the most frustrating part of this run.
Aurelia standing atop the IV bag stand facing the corner ready to jump up
Using Aurelia: Standing toward the far corner, at an angle, double jump onto the IV Bag stand in front of the bed by the lockers on the wall. From there, double jump onto the upper level.
Using Nanally: Use her zero-gravity movement to float up. Nanally is not F2P-friendly.
Using Zero, the main character: Find the set of lockers in the back right side of the room. Stand on them facing the wall. Trigger Zero's Skill to launch into the air, then when you see the big orb, immediately switch to Edgar and jump again from that height onto the ledge of the second floor. The angle and timing are specific; this may take multiple attempts.
Once you reach the upper room, interact with the middle sealed canister to get “Jigsaw” - Type IV. There's also a safe up here worth opening while you're there. Jump back down and head back to the elevator from there. Take it to the third floor.
The Third Floor: The Second Jigsaw and More
From the elevator, just like in Ending 3, go to the sealed canister on the left wall and get the key from inside. Enter the door next to the canister. Interact with the table in the middle of the room, placing “Jigsaw” - Type IV on it. This triggers a door to appear on the left wall.
After placing “Jigsaw” - Type IV a door appears
Go through that door and go left all the way to the wall; it will disappear and let you walk through it. Go over to the desk and interact with the file until you grab V's Notes???
Go back through the room and enter the door directly across from where you just exited. Go into the room on your immediate right and collect the second “Jigsaw” - Type I from the sealed canister. Go back out and left into the main room. Place the Jigsaw on the table. It triggers a change in the hallway and anomaly monsters appear. Defeat them.
Go back through the door you just came from. The Bandage Monster spawns at the end of the hallway and you need to get to the rooms at the end. You have two options:
Option 1: Go directly toward the Bandage Monster and dodge him or wait until he comes toward you and turns down the hallway on his usual path.
Option 2: Run to the first corridor, make a right, go to the end of the hallway, then left, and another left to the end of the hallway. This brings you to the last room on the left.
Either way, get Anomaly Experiment Clue III from the desk. Then go directly across the hall into the room and grab Experiment Object "Mysty" from the very last container on the right.
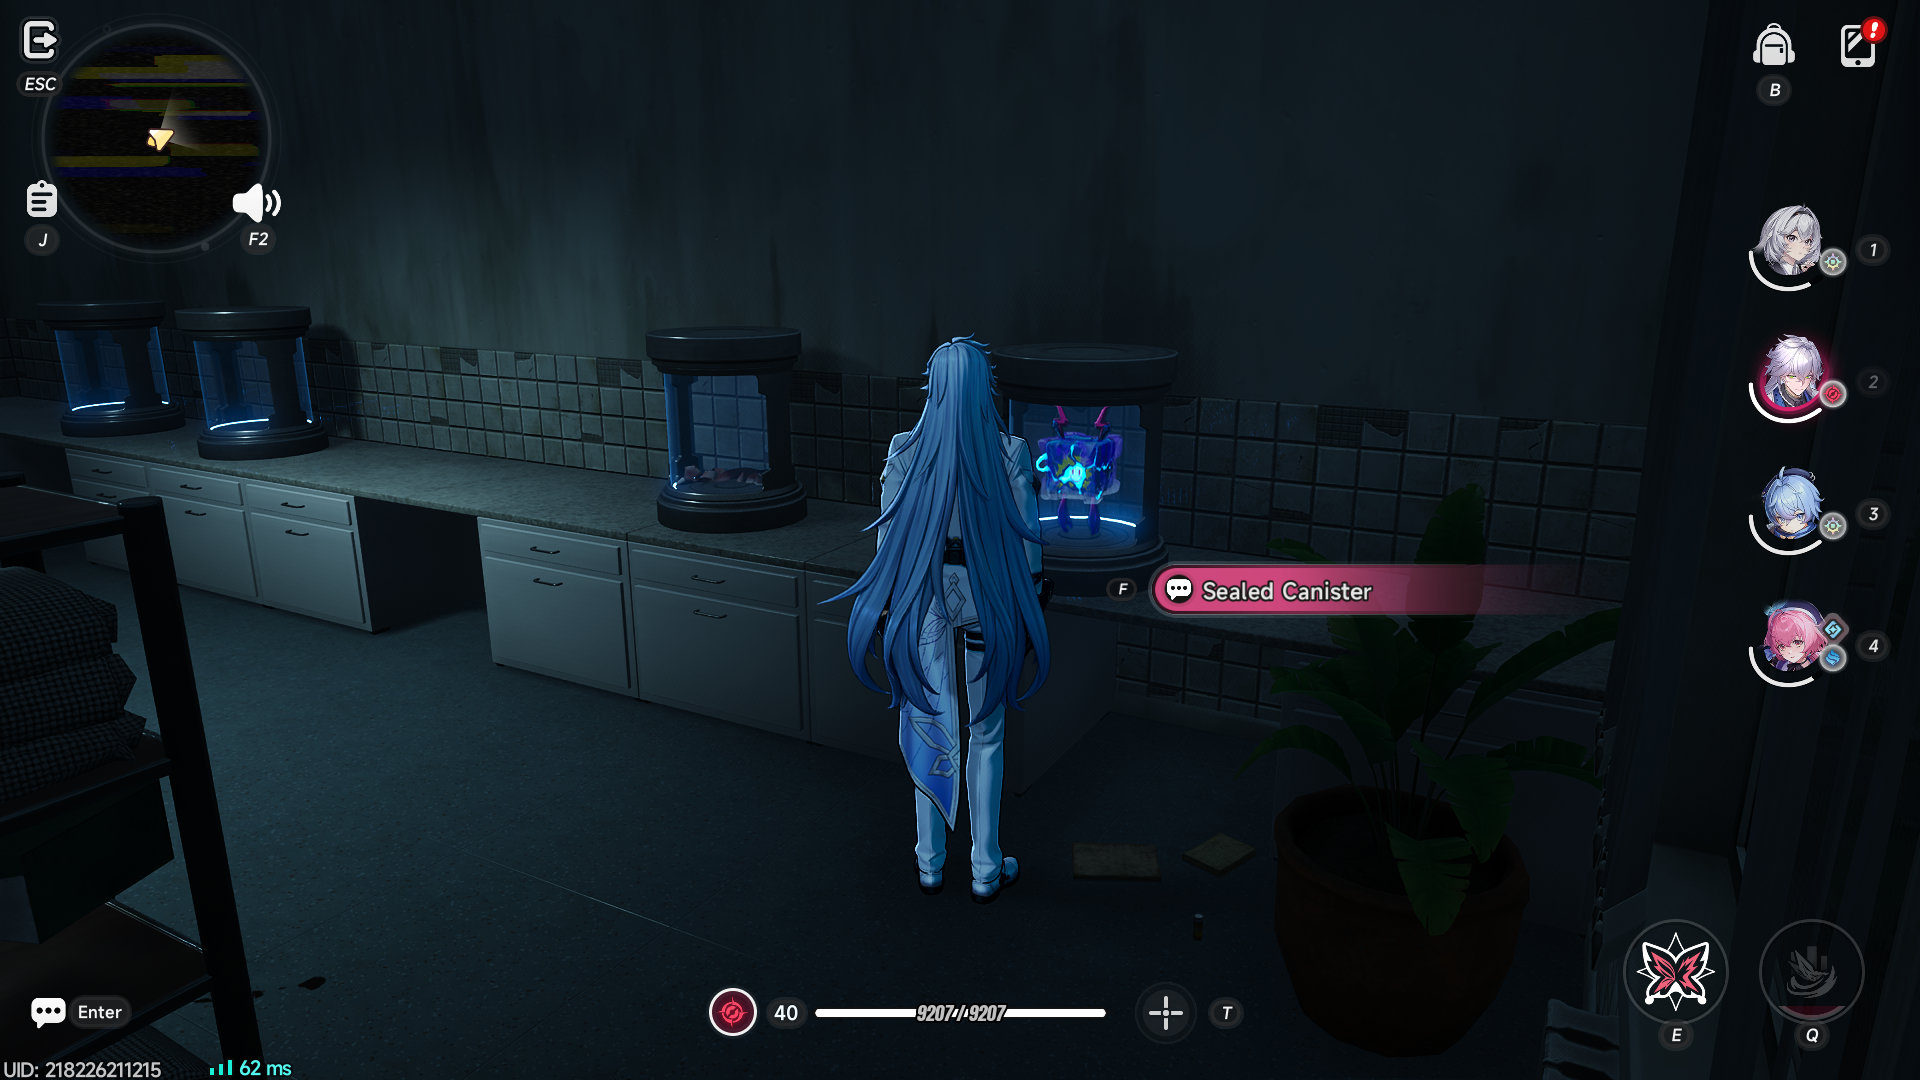
Finding Mysty's True Form
Leave the room and go straight down the hall to the first corridor; turn left. Go inside the first room on the right. Place Mysty in the very last canister on the left. Mysty becomes Jigsaw II. Collect it.
Leave the room going left, then left again down the hall into the main room. Place Jigsaw II on the table. The hallway changes again.
The Light Switch Puzzle
Go back down the hallway and turn right at the first corridor. Go all the way to the end, then left to the end of the hallway. Open the door on the right and go to the far wall where you'll see a switch between two bookcases.
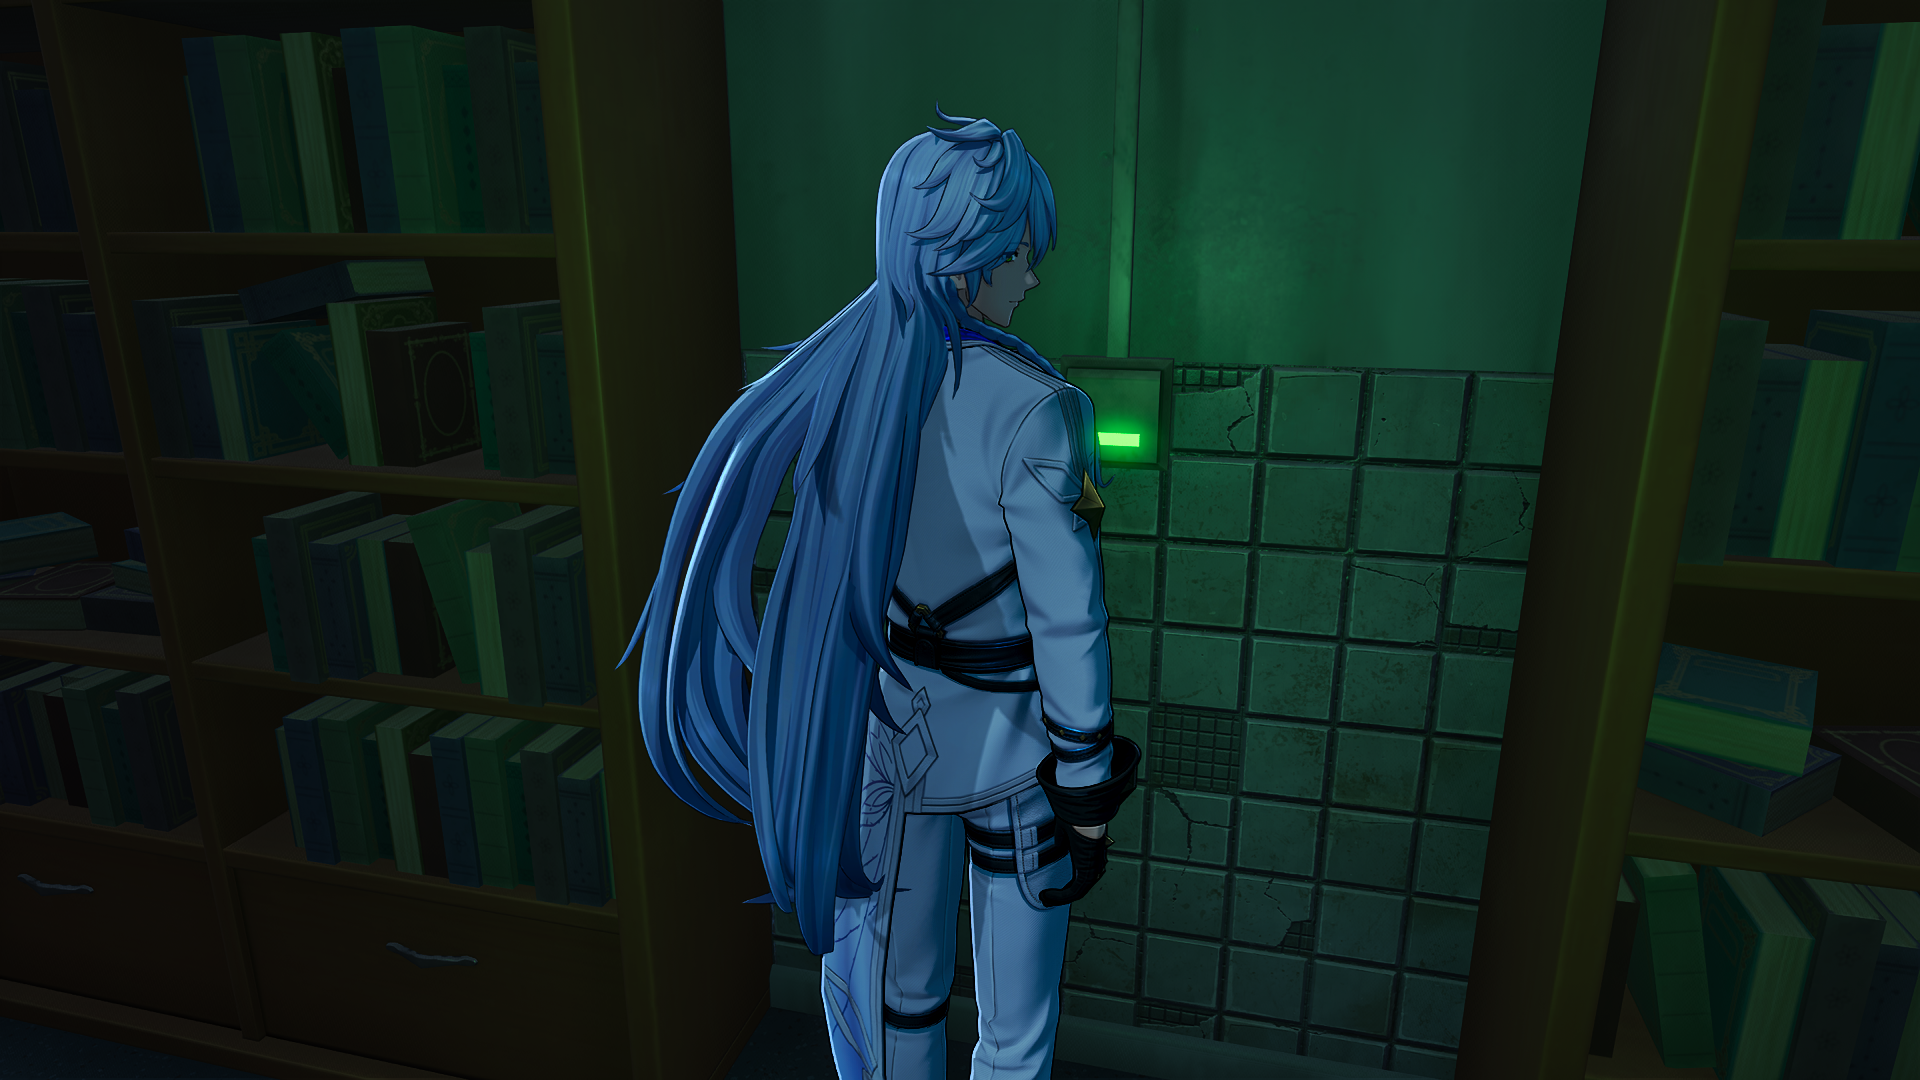
Press the switch in this pattern:
2x; wait a second
1x; wait a second
1x; wait a second
1x; wait a second
1x; wait a second
2x
If done correctly, the bookshelf on the left opens up to a hidden room. Go inside and investigate the computer on the far wall to get Anomaly Experiment Clue IV.
Turn In the Clues
Leave the way you came; exit the door and go left down the hall, then right, then left until you reach the main room. Go left through the double doors, then right to the elevator. Take it down to the second floor.
Make your way to the lobby and into the room behind the reception desk. Submit the clues like this:
First camera: Nightmare Voices Clue, View Clue 1, Place Clue
Second camera: Anomaly Experiment Clue, View Clue III, Place Clue
Third camera: Anomaly Experiment Clue, View Clue IV, Place Clue
The final Nameless Hospital cutscene triggers and Ending 4 is complete. Congratulations!